Most beeswax wraps that are available to purchase contains three main ingredients, namely beeswax, Jojoba oil and pine resin. If you’ve been looking to make your own, look no further – here’s how to make beeswax wraps
This recipe has been tested and it works like a charm.
***Disclosure -The links in this post may contain affiliate links and I may receive a small commission if you make a purchase after clicking on a link.***
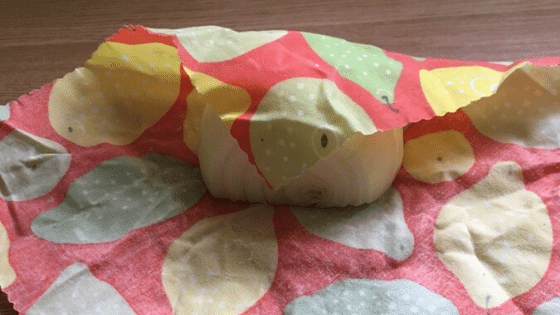
Recipe: How to make the best reusable beeswax wraps
(Makes 2-3, 12×12 inch beeswax cloths)
Ingredients:
- One hundred percent cotton fabric, organic if you can
- 35 Ounces pine resin (sustainably sourced)
- 25 Ounces grated beeswax or beeswax pastilles
- 1 x Tablespoon organic Jojoba essential oil
- 1 x Stirrer (a large popsicle stick works great)
- Parchment paper
- 1 x Dedicated paint brush
Directions:
- Wash the fabric and dry.
- Start cutting the fabric into your chosen sizes and shapes.
- Pour the pine resin, Jojoba oil and beeswax into a glass measuring cup or double boiler and set in a saucepan.
- Add water into the saucepan until the mixture in the measuring cup or double boiler reaches just below the waterline. Turn burn to a medium-high heat.
- Preheat the oven to 300 degrees Fahrenheit.
- Allow the ingredients to melt together for about twenty to twenty-five minutes.
- Cover the large cookie sheet with a sheet of parchment paper which is bigger than your largest section of fabric.
- Start spreading a fabric piece or more than one piece (depending on the size) flat on the parchment paper.
- Brush the mixture gently onto the fabric. It may start solidifying, but it’s ok because you can redistribute it later. It is easy to oversaturate, but keep in mind that it is easier to add more rather than having to take the excess away.
- Place a cookie sheet in the oven for two minutes or until the fabric appears wet.
- Remove from the oven and investigate for any dry spots. Brush your mixture over the uncovered areas and apply more coating if needed. If you notice any inconsistencies after adding more, you can place it back in the oven to smooth it out for a few minutes.
- Put the next wrap/wraps you’re planning to make on top of the finished fabric to start soaking up any extra coating mixture. Make sure you work quickly since you don’t want the wax to start solidifying again.
- Once you’ve pressed out any excess onto the new cloth, peel them apart and hang the finished wraps out to dry. It only lasts a few minutes for them to dry.
- Repeat the steps mentioned above with additional sections of fabric until you’ve ran out of the coating mixture.
There are many beeswax recipes online that you can give a try but this one is among the easiest to make and almost failproof.
Switching to beeswax wraps to replace regular sandwich bags are an excellent eco-friendly option plus the three top advantages are that they are:
- Reusable
- Compostable
- Made from organic and natural ingredients which are good for the environment
Have a look at this great video on DIY beeswax recipes that you can give a try:


Wow that is so cool thank you for sharing I am going to have to gi e this a try.
THIS SOUNDS SO AWESOME
I’ve never thought of using this as an alternative